Mastering Greek Baklava Techniques (Without Crying Into Your Filo Dough)

The Step-by-Step Guide That Makes It Way Less Scary
Let’s be honest: Greek baklava looks intimidating. All those paper-thin layers, the precise syrup timing, the “one wrong cut and it’s ruined” kind of vibe. But guess what? You don’t need to be a pastry chef or have a Greek yiayia coaching you in the kitchen.
You just need good ingredients, the right techniques, and maybe a little patience (plus snacks, always snacks). This guide breaks it all down in a chill, beginner-friendly way from thawing the filo to slicing that final crispy square.
Table of Contents
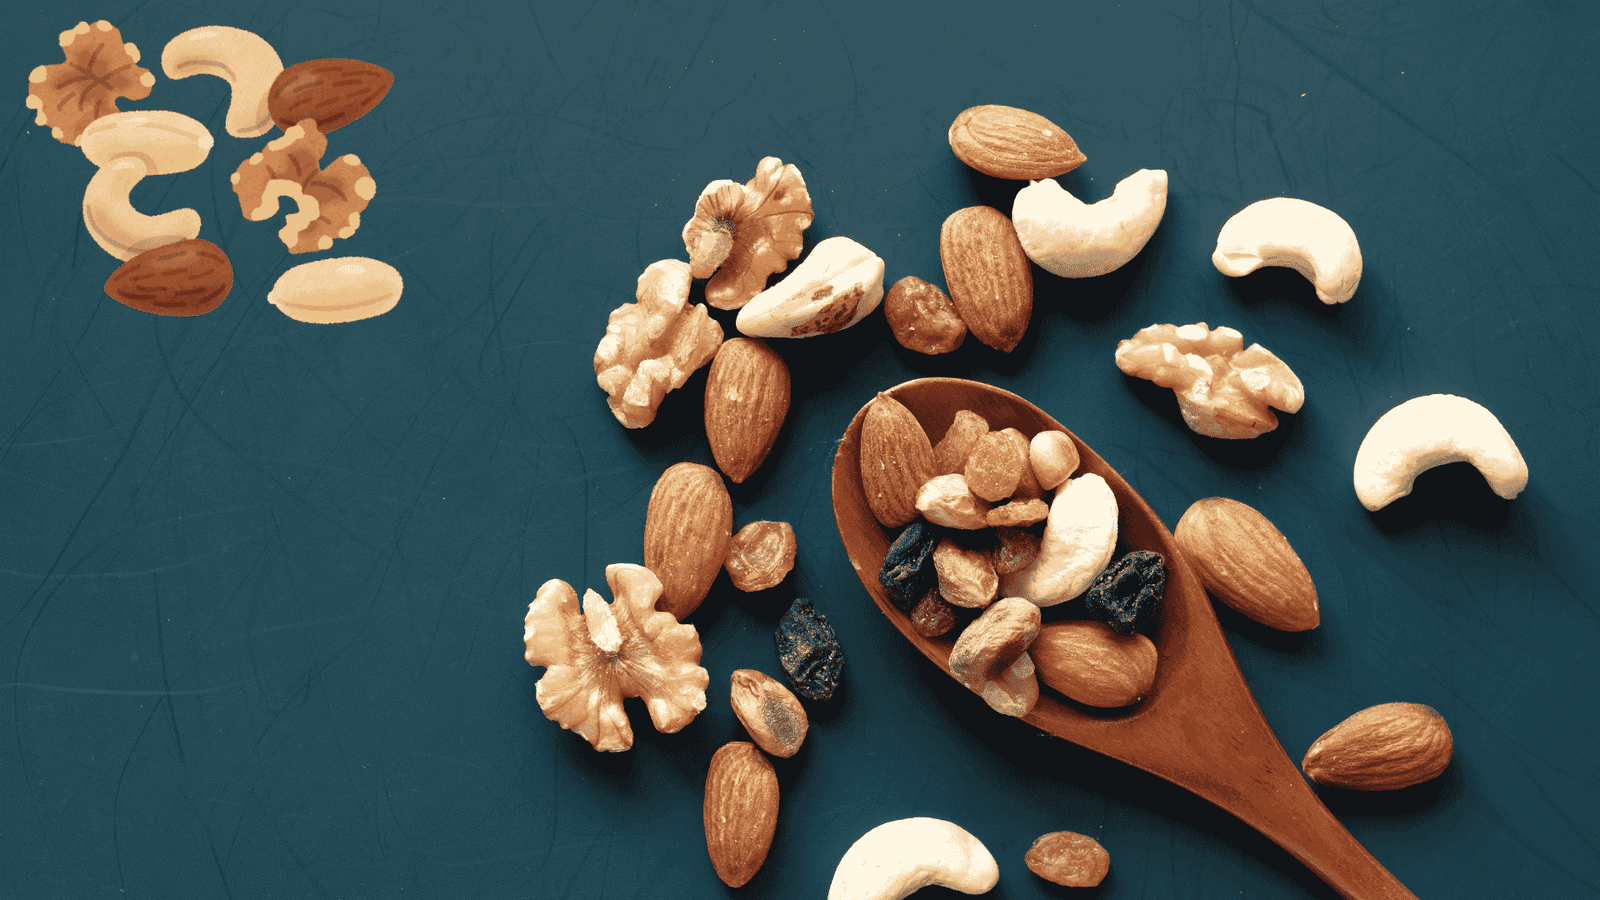
1. Prep Like a Pro Before You Even Touch the Filo
Don’t skip this it’s your anti-chaos checklist
Before you even open the filo package, make sure you’ve got:
- Nuts chopped (walnuts, pistachios, almonds your call)
- Cinnamon + sugar mixed with your nuts
- Butter melted and slightly cooled
- Syrup made and cooling on the side (trust us see why here)
- A clean, dry work surface and a pan that fits your filo sheets
Think of this like setting up your kitchen “battle station.” Less scrambling = more layering zen.
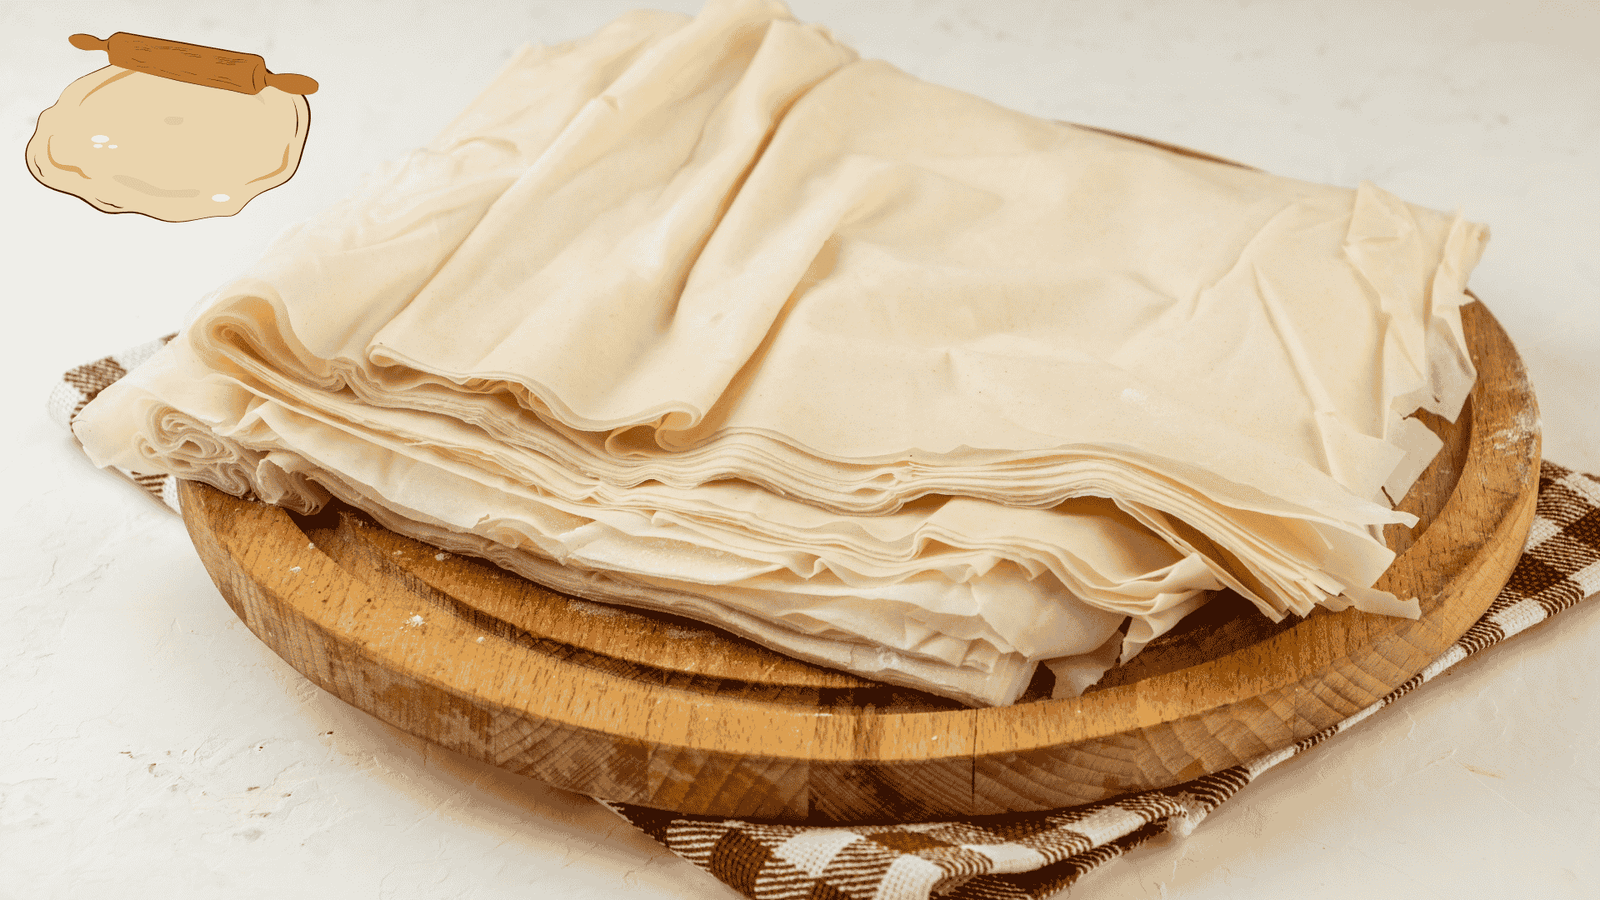
2. Handling Filo Without Losing It
It’s not you filo really is that fragile
Filo is thin, dramatic, and dries out faster than your group chat after midnight. But don’t panic. Just:
- Thaw in the fridge overnight
- Let it come to room temp before opening
- Cover it with a slightly damp towel + plastic wrap as you work
More filo survival tips? We got your back over here.
3. Layering: The Fun Part (Really)
Butter, filo, nuts, repeat
You’ll usually use about 30–35 sheets. Here’s the basic formula:
- 8–10 buttered filo sheets on the bottom
- Layer of nut + cinnamon mix
- 2–3 buttered filo sheets
- Repeat nuts and filo until you run out
- Finish with 8–10 sheets on top
Each sheet gets brushed with butter. Yes, it’s tedious. Yes, it’s worth it.
4. Cutting Before Baking (Trust Us on This One)
The difference between diamonds and disaster
Once your baklava is all layered and buttery, it’s time to slice it up before baking. This helps it bake evenly and makes it way easier to serve later.
Use a sharp knife to:
- Cut straight vertical lines
- Then diagonal across to form diamonds
- Press gently no rushing
Want more tricks for clean cuts and less filo chaos? Our baklava cutting guide has everything you need
5. Bake Until Golden and Glorious
Your house is about to smell ridiculous
Bake at 325°F (160°C) for about 45–60 minutes. You want it golden brown, crisp on top, and just slightly puffed.
Resist the urge to open the oven constantly. Baklava likes a steady, even heat.
6. Time the Syrup Like a Boss
One hot, one cold that’s the rule
This is where many baklava dreams fall apart. Syrup timing is everything. Follow this no-fail formula:
- Hot baklava + cooled syrup
OR - Cooled baklava + hot syrup
f you want the full breakdown, including what to avoid, check out our guide on when to pour syrup on baklava.
7. Let It Rest (Yes, Really)
Overnight if you can wait at least 4 hours if you can’t
Once the syrup is poured, step away. Let it absorb, mellow, and do its thing. Rushing the rest time = syrupy puddles and flaky chaos.
8. Serving and Storing Like a Greek Dessert Boss
- Serve at room temp (it’s best this way)
- Keep in an airtight container for up to 2 weeks
- Freeze extra pieces (check this guide for the how-to)
Do I have to cut baklava before baking it?
Yes! It’s easier, cleaner, and helps the syrup soak in evenly later.
Can I make baklava ahead of time?
Definitely. It actually tastes better the next day once the syrup has soaked in.
How do I know when it’s done baking?
It should be golden brown on top and crisp throughout. Usually takes 45–60 minutes.
What’s the best way to get crispy layers?
Use real butter, brush each layer, and don’t rush the bake. And always mind your syrup timing.